
Yet another installment of “How I Built This: ROTJ Boba” (please don’t sue me, NPR). Let’s go over the checklist that meets 501st approval.
My first set of armor was made in Romania and was heavy fiberglass resin. Seriously, the armor itself weighed 10 pounds which was nice in that it gave a good depth and heft but the damage wasn’t right and neither were the colors. What is important is learning the lesson that if you want something done to your satisfaction you do it yourself.
My armor was made by MinuteFett. I ordered both ROTJ and ESB armor as I plan on an ESB build later (I need a breather after the ROTJ build and want to enjoy it). The armor is made from .060 plastic which is the same material used in the movie.
First, a photo of the final build, with a cool filter to make it look, well, “cooler” (as in the Fonz):

✅ Consists of collar armor, left and right chest plates, a center diamond and an abdominal plate.
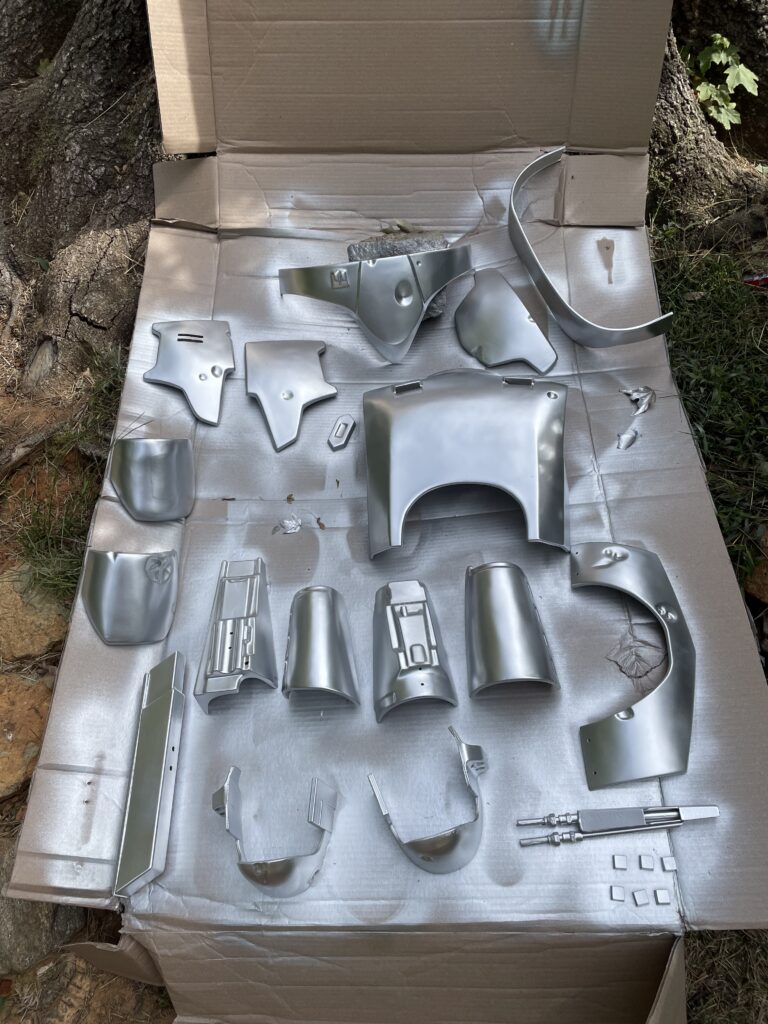
✅ Armor is medium/darker green base with weathering that appears to expose a silver base color with yellow edges around the silver. — This was fun. The armor came in white and looked just like the Boba Fett prototype armor. I roughed it up a bit with 400 grit sandpaper and primed it. I then proceeded to add the additional layers. First, my “Jango Phase”:
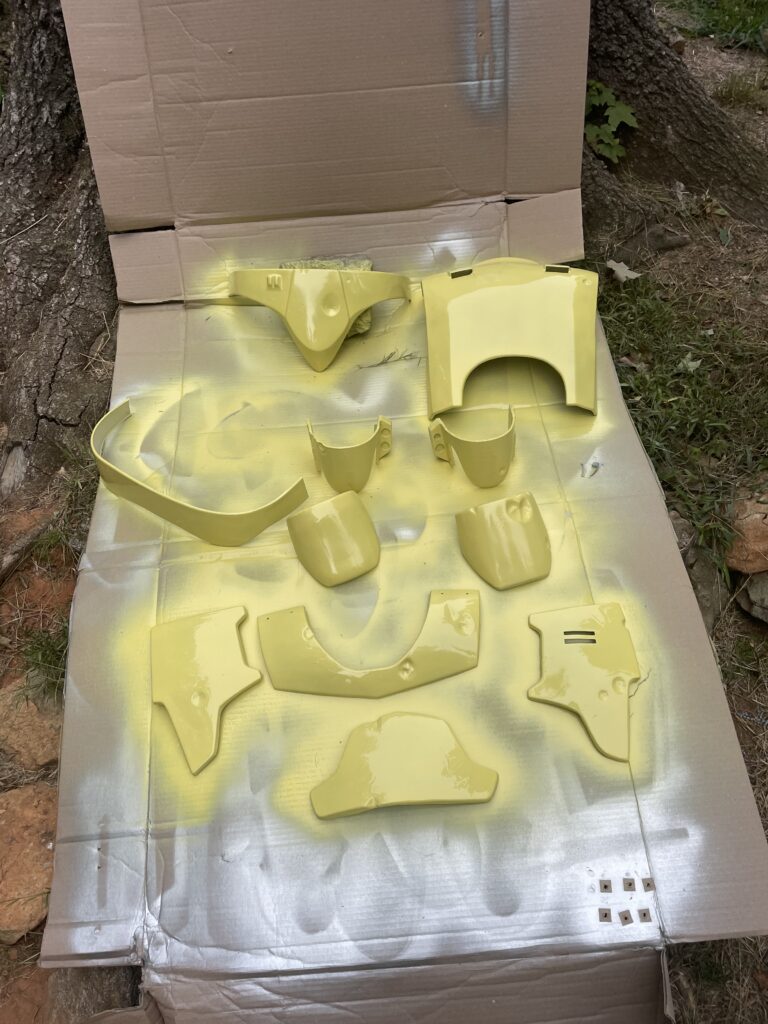
After my Jango Phase cured I did some masking (use Humbrol Maskol) and added the yellow layer which I refer to as my “Banana Fett Phase”
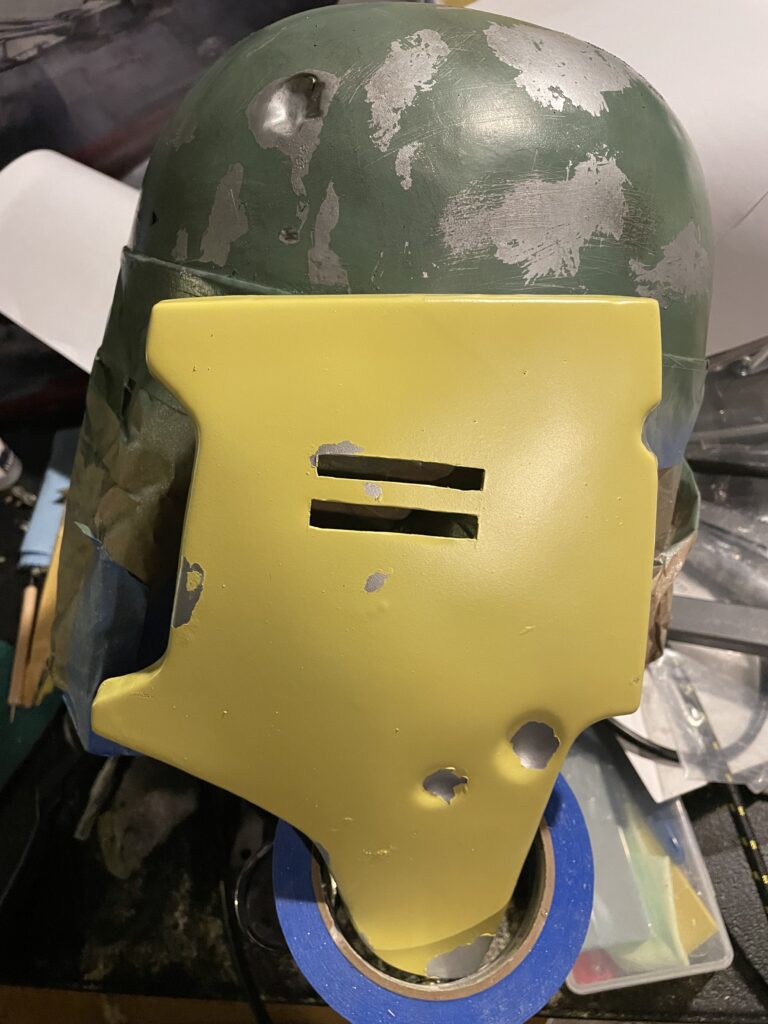
The left chest piece with Maskol removed:
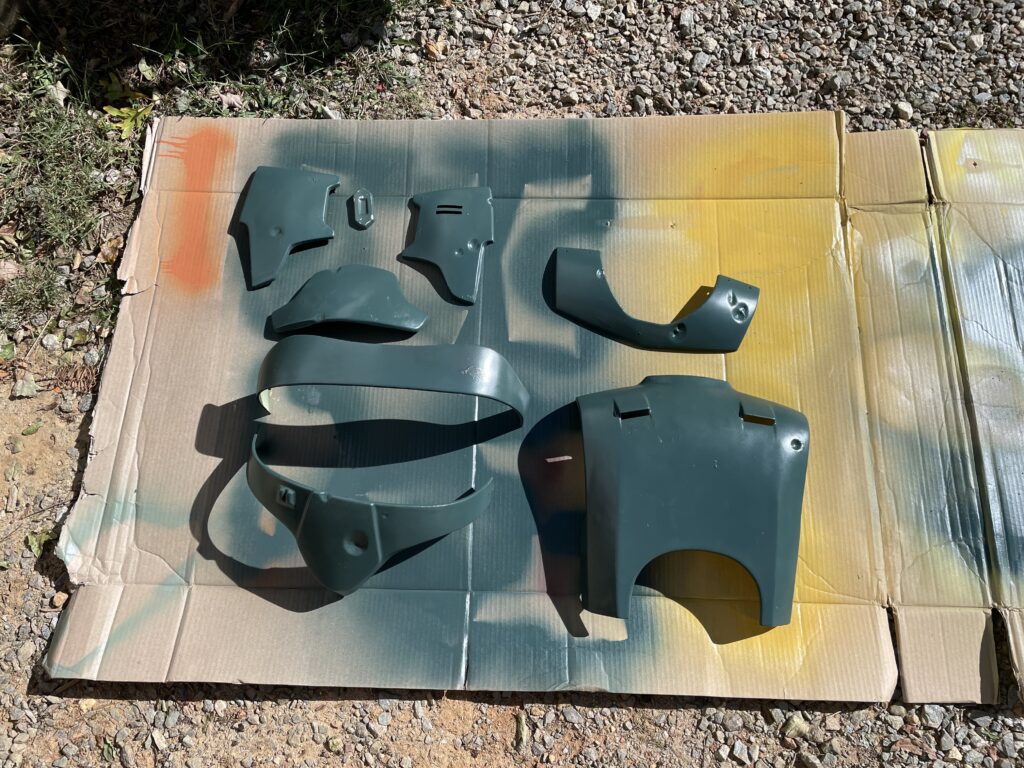
And then more roughing and Maskol and a few select areas of green and grey paint on the abdomen piece because it has a slightly different color scheme than the other pieces.
✅ Left chest plate has two cut out horizontal slots, the lower one to be taller and positioned as shown in film era visual references. Slots are backed by a translucent red piece of plastic/acrylic.
✅ Chest light display slots have an illuminated digital red display, flashing and sequencing in a pattern consistent with film era visual references. — I have lots of pieces of red film if anyone needs it.
✅ The right chest plate has a specific emblem in the upper left corner when facing and matches film era visual references. – Jaster’s Feather – and it is a decal
✅ Center diamond between chest plates is the same color as the armor and has a rectangular piece of plastic, painted silver, inserted in the middle as shown in film era visual references. — Why is this mentioned? Because it is a different color on the ESB armor. And the silver in the middle is actually a painted piece, not just a painted rectangle.
✅ Chest and abdominal armor attaches securely to the front of the vest. — With lots of carefully cut Velcro adhered with E6000. I do plan on using the proper grommet and nylon post method at some point.
✅ The collar armor appears to connect to the back plate in an overlapping fashion via 4 square studs that are silver in color. –– The collar armor does actually connect to the back plate via 4 square studs which are keys off of an old desktop calculator. Funny story about those studs – I was scouring eBay for an old calculator and found one! They wanted only $10 for it. I then noticed the listing stated they were in Winston-Salem, NC (where I currently am). I then noticed that the name which was suspiciously similar to an old friend of my wife. It was indeed her. I met up with her and we chatted for an hour (I also worked with her ex-brother-in-law and still stay in touch; yeah, small world). Anyway, I got it for free and all of the keys have now been converted to collar armor studs for emergencies/backup.
How to make the studs from keys:
- Pop them off of your calculator.
- Find small nuts (4-5mm) and bolts. You may need to shave/grind your bolts down if they are too long else they will pop through the key top (Learned from experience). It is a good idea to get some lock washers as well. Any (decent) hardware store will have these.
- Dremel out the inside of the keys. Try to only cut out enough plastic that the nut fits on the post inside the key. You want the nut to be flush with the edges so it sits flat on your armor.
- Fill the empty areas with fiberglass resin (no cloth material) and let it cure.
- After it cures, drill out the inner hole of the nut to allow the bolt to pass through the nut.
- Rough the key up a bit on all 5 sides and paint it with metallic paint.
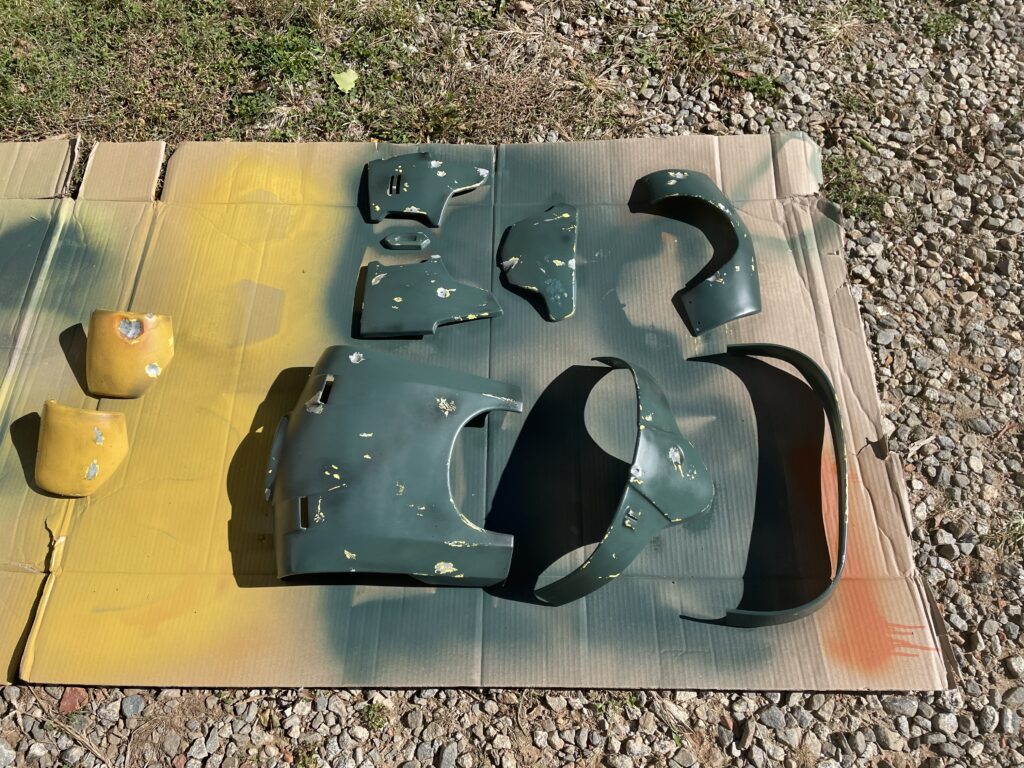
Here is everything curing in the late summer sun:
And with the Maskol removed before adding the satin coat:
Level 2:
✅ The armor has a satin finish.
✅ Jaster’s Feather chest emblem is a decal/sticker.
✅ Outside right collar stud is shorter than the other three studs and is dark grey in color.
That’s it for the chest and collar armor!
- Helmet
- Jumpsuit
- Flak vest
- Chest armor
- Jetpack
- Gauntlets (and hoses)
- Ammo and girth belt
- Jetpack harness
- Side pouches
- Voice changer
- Codpiece/kidney armor and “Boba thong”
- Knee armor
- Shin tools
- Spats & Boots
Leave a Reply