As I wrote in my previous article I was highly dissatisfied with the kill stripes from the plastic I cut out. Why? In brief: inconsistency.
Instead of using a template this time I am using tape. And unfortunately tape does not come (cheap/standard) in various widths of 2, 3 and 4 millimeters.The modeling tape I am using is 4mm wide, perfect for the clearance between the headband and the bottom of the kill stripes.
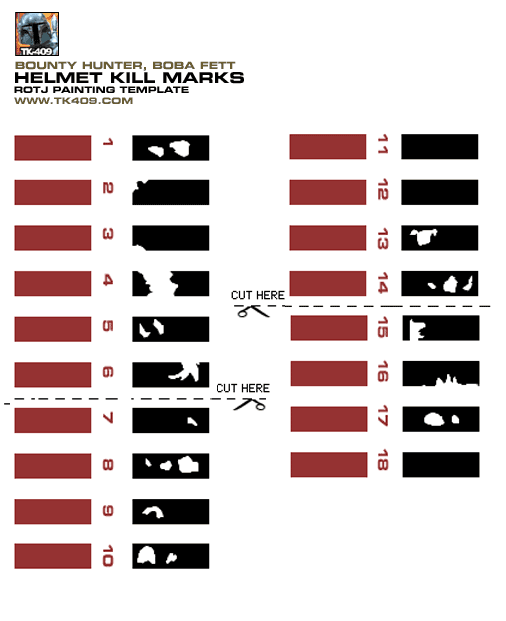
I am using the template to plan out the damage/weathering to the stripes with Maskol but that’s all.
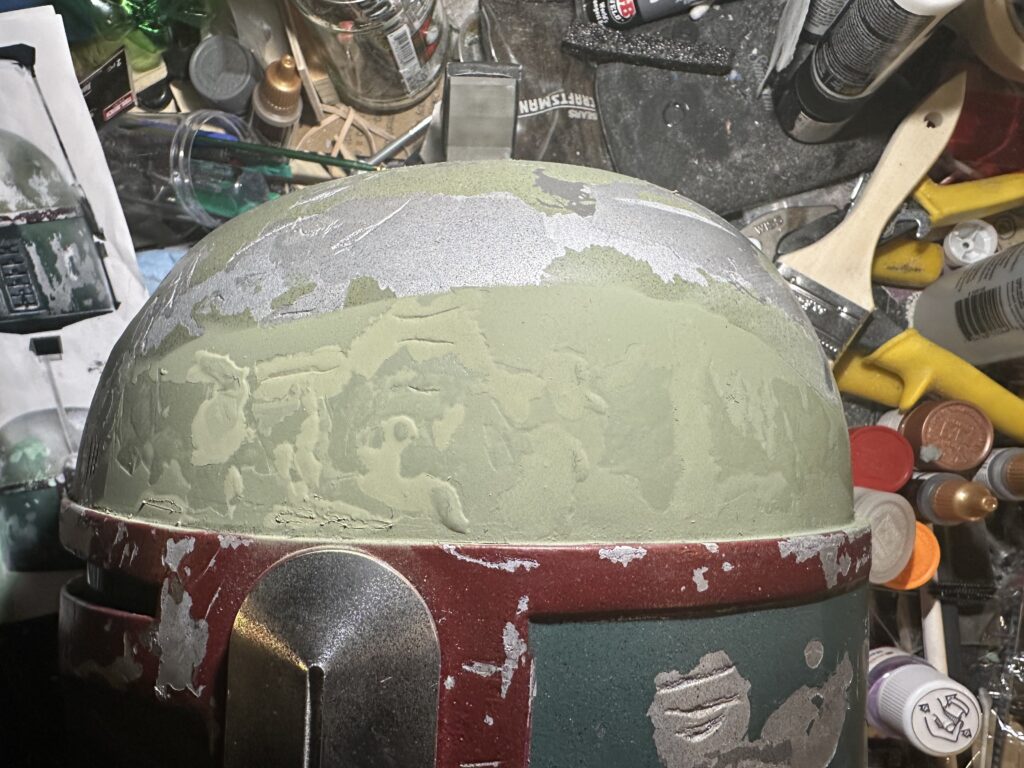
First thing’s first, we start with smoothing out the paint from yesterday to blend it with the other areas. It really stands out because the rest of the helmet has a thin film of black spray on it.
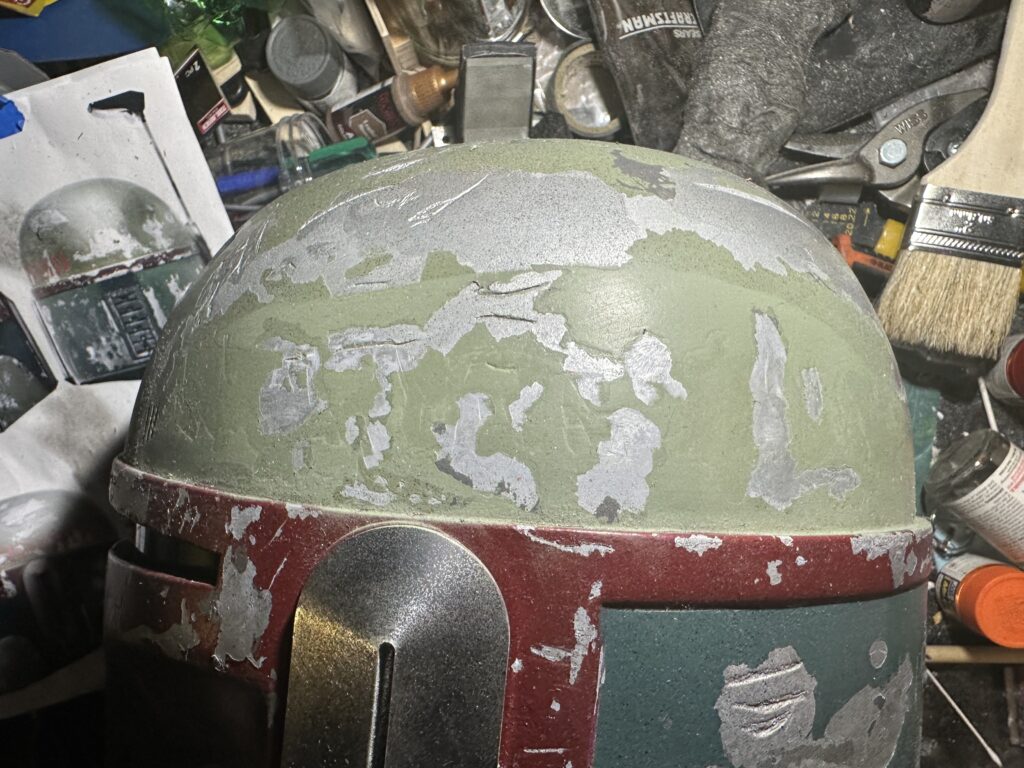
Of course that requires removing the Maskol that was under it. It still looks a bit out of sorts.
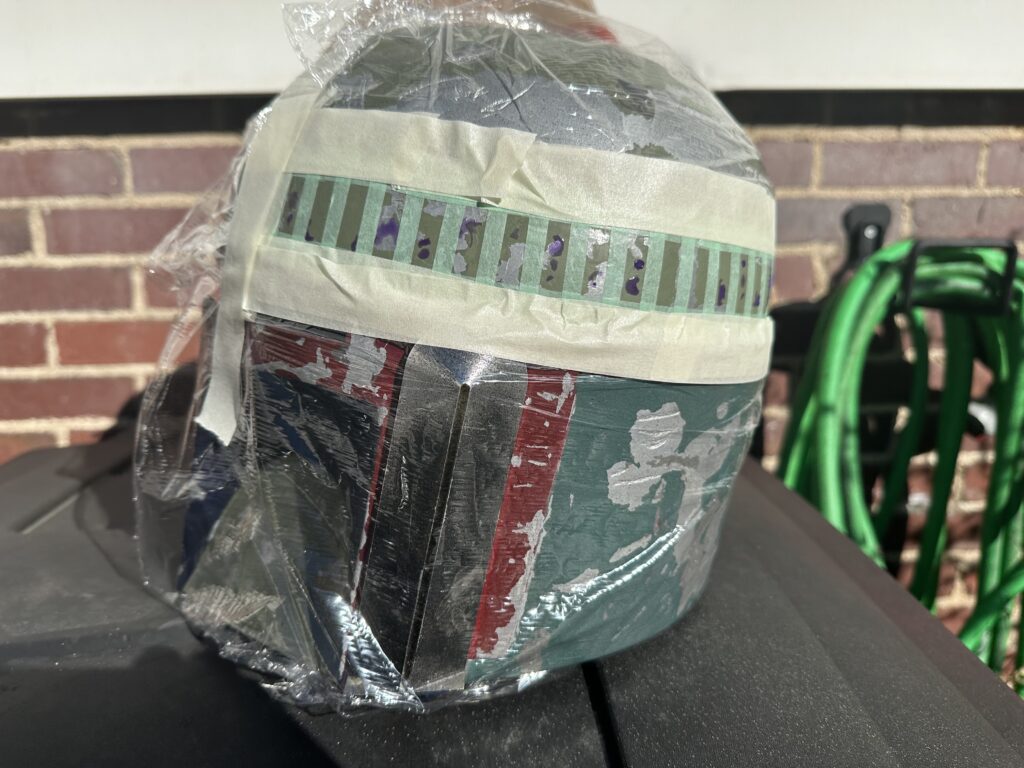
Now the masking: starting at the bottom I ran a length of tape from the front to the back. Yes, we want more than we need. Next, I measured 2cm from their top of the tape at approximately every 6 stripes (3 marks; 18 stripes / 6 = 3). I then ran a line of tape masking those marks in accordance with the template above. I also cut out a single stripe and used it as a guide for each.
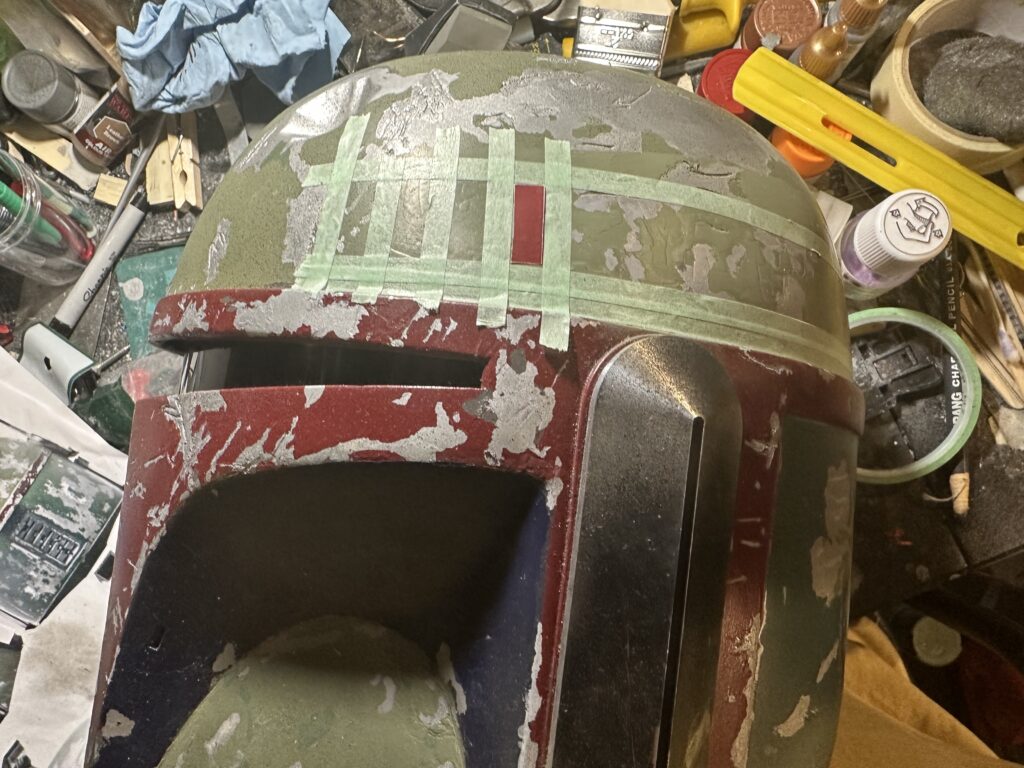
And the whole thing, with Maskol to cover the damage areas. And yes, that is just dollar-store cling wrap and masking tape. It is a bit more forgiving than painter’s tape (and cheaper) and doesn’t peel off underlying paint.
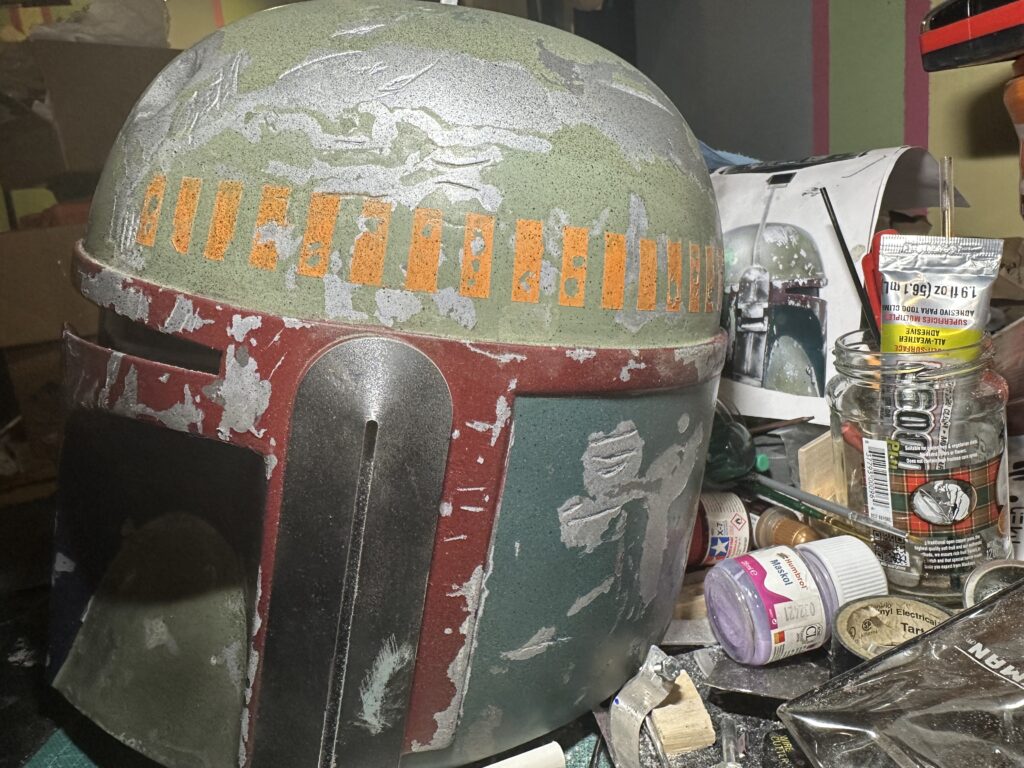
The final product, after coating with black paint. I just hope the color is acceptable for 501st approval. I could not find a darker orange.

Leave a Reply