I want my Fett build to be the best it can be. For the helmet I have added two things:
- A sound effect of the “squee” of air when donning/removing the helmet.
- A servo to lower and raise the rangefinder
The first part was pretty easy. I ordered this module from Amazon and isolated one of the sound effect seals from The Book of Boba Fett and copied it onto it.
I then mounted the module inside the helmet with the speaker lodged between my rear circuit board and vents so the sound can travel.
I then ran the activator button to just below my right ear so I can press it when removing or donning the helmet.
The servo was a bit more complicated to install.
I ordered this kit from Etsy. The aluminum rangefinder stalk I received from MinuteFett has a hole that runs through a tunnel to the top and inside the helmet. It also has a notch in front. I didn’t want to put the screw from the horn attached to the servo in the hole with the wires so I tried using a gravity-fed solution of holding the stalk in the up position then going down and releasing it. It kind of worked.
Getting the servo mounted was another challenge. I tried using putty epoxy which just made a mess. There wasn’t enough counterweight to keep the servo motor mounted inside the helmet.
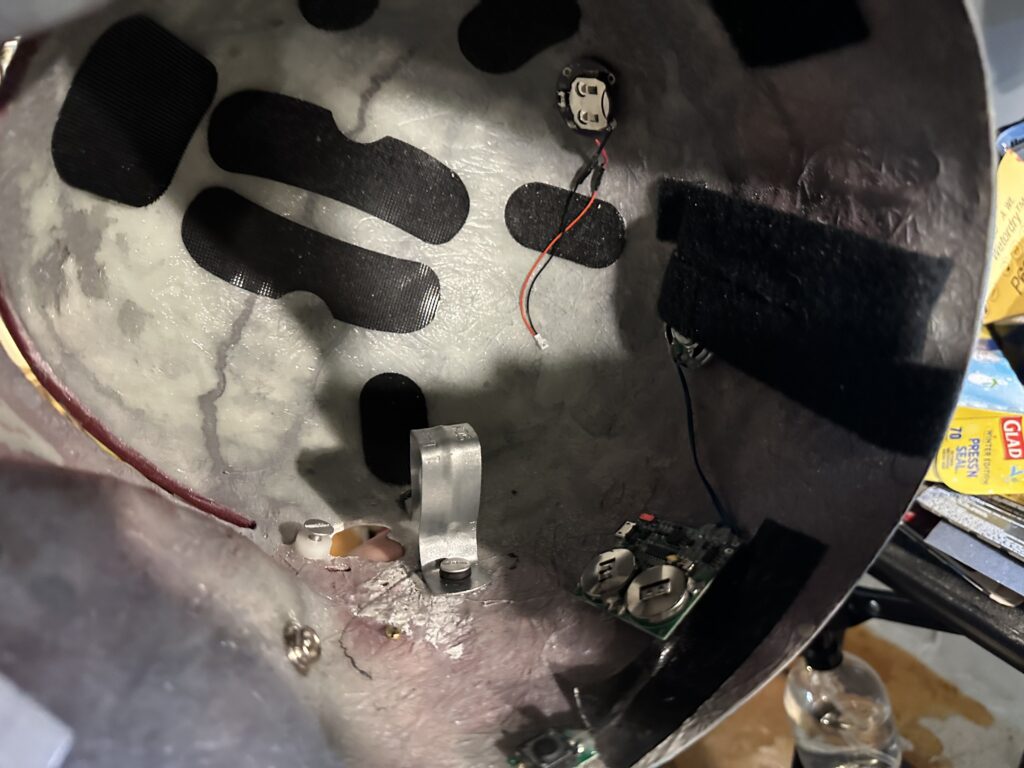
Inside view: the round thing is the battery for the (now removed) rangefinder light. The 2-battery thing is the sound chip with the speaker behind the velcro that protects my head from the sharp silicon on the circuitboard. You can see the trigger at the bottom. Lastly, I used a pipe mount to attempt to sold in the server. It did not work but you can see the posts used to hold it down (with a rubber spacer). I also use those to hold in the visor on the temples and in the center, which has its nylon washer painted black.

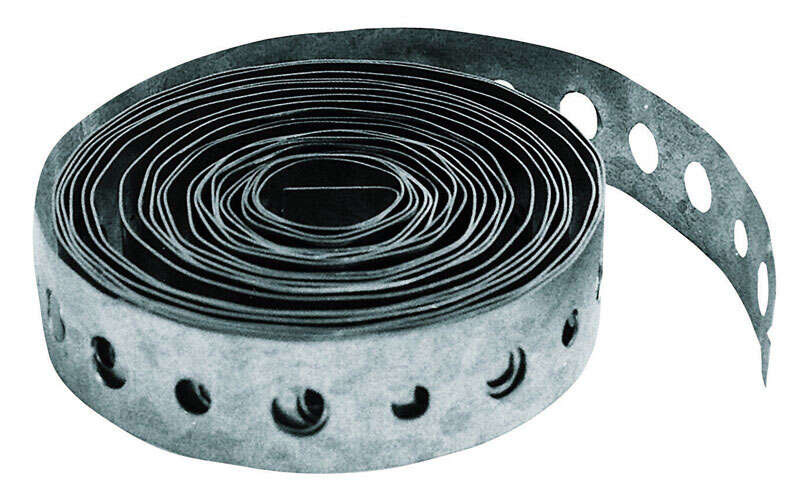
That didn’t work at all. So I switched to another solution — using pipe hanging strap:

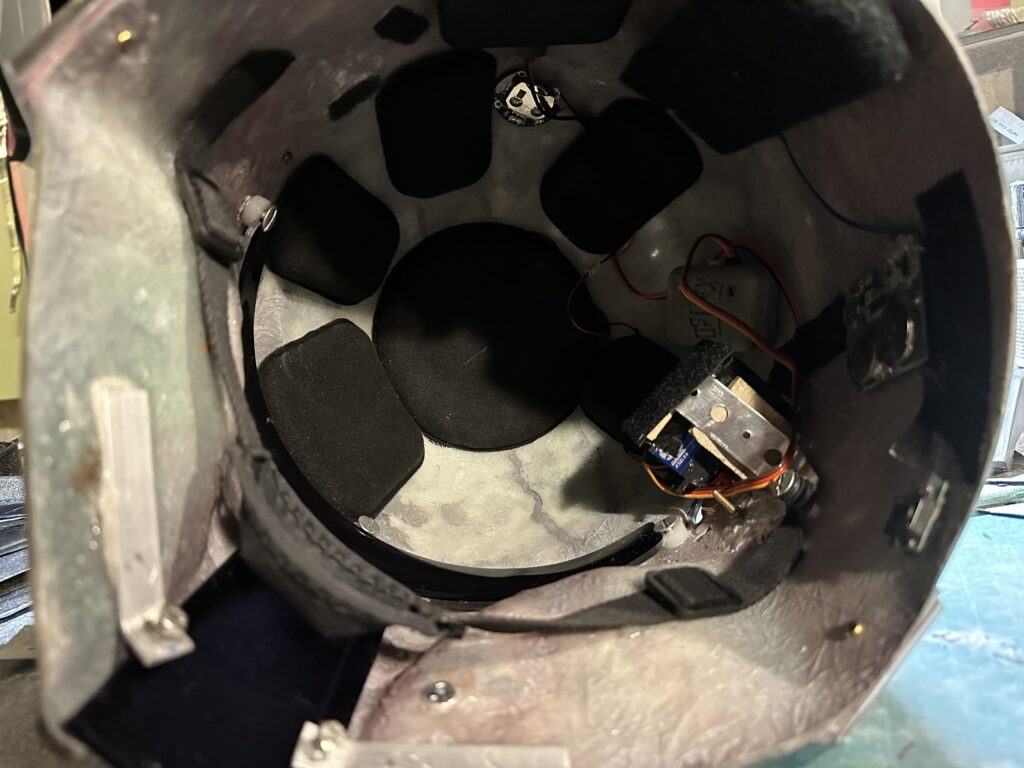
I purchased a few post and bind screws from my local hardware store to mount it in. I also used a few shims under it to get it the right distance. It’s sloppy but it works. The sensor which triggers the servo is located just behind the right ear. And the power pack that controls the whole thing is in the back of the helmet. Here is the finished result:

In the photo above you can see the servo attached using the hanging strap method. The nice thing about the hanging strap is you can adjust it (kind of). This also shows the chin strap used. I also added some soft velcro to the servo so it doesn’t press against my head. The battery pack is attached at the very top. Everything is attached with Velcro (except the servo) so it is easily removable. Also notice the shims holding in the server. The servo’s potentiometer is just above it (the grey box).
The **only** thing I don’t like about the server are the horns (arms) that come with it. Though it comes with several options they are plastic so if your rangefinder is slightly heavy they will quickly wear out. What works best is to grab some aluminum horns and use them. You can shave them down with a Dremel or file set since the arm will likely scrape against the helmet if it is too close.

Leave a Reply